
MAILBOX Alert
How to troubleshoot MAILBOX Alert Extended Range
- make sure the extender is plugged in, connected to your WiFi, and has green status on "My Devices" page
- remove cover from the remote unit
- remove 3xAAA batteries
- unplug the sensor wire (1)
- gently bend battery clips (2) towards each other as shown on the image below
- push the main processor (3) with your thumb all the way into the socket on the main board

How do I convert my Mailbox Alert to Extended Range?
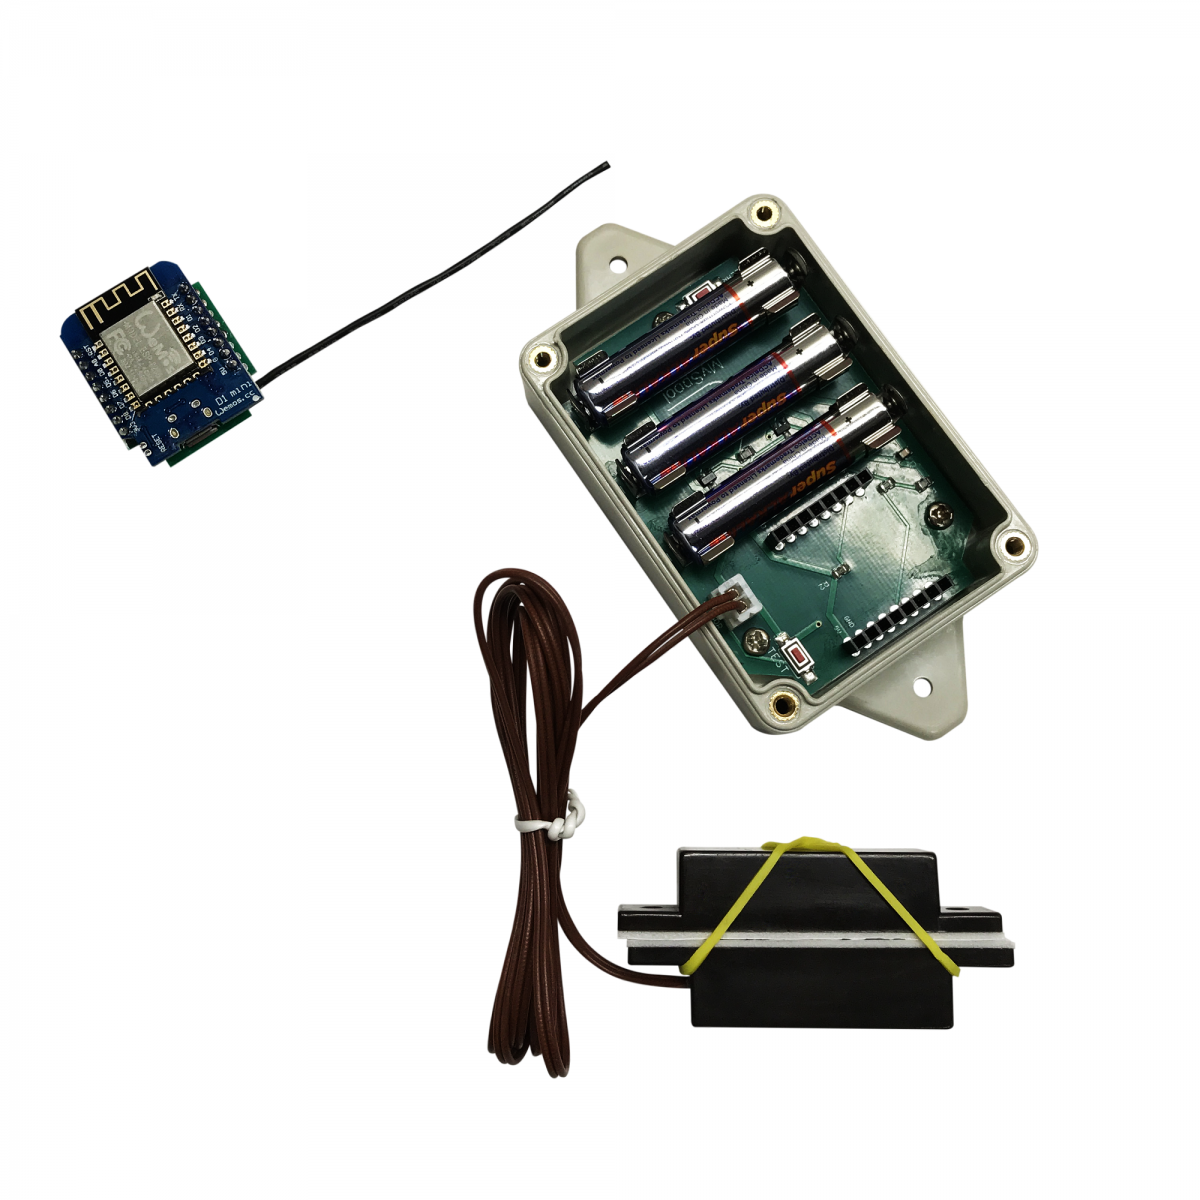
Take the lid off your Mailbox Alert and disconnect the sensor by pulling out the wires from the white connector. Bring the enclosure inside. Pull out one battery. Note how the blue chip is housed, pull it up and replace it with the replacement chip from the kit. Make sure the antenna is fed outside, it should stick out from the slot in the lid where the sensor wires come in. Put the battery back in.
How to move MAILBOX Alert Extended Range to another WiFi network?
Suppose you must move your MAILBOX Alert Extended Range Set to another location or re-configure it to use another WiFi network. In that case, you need to delete the information already stored there.
How to configure and install the MAILBOX Alert Extended Range?
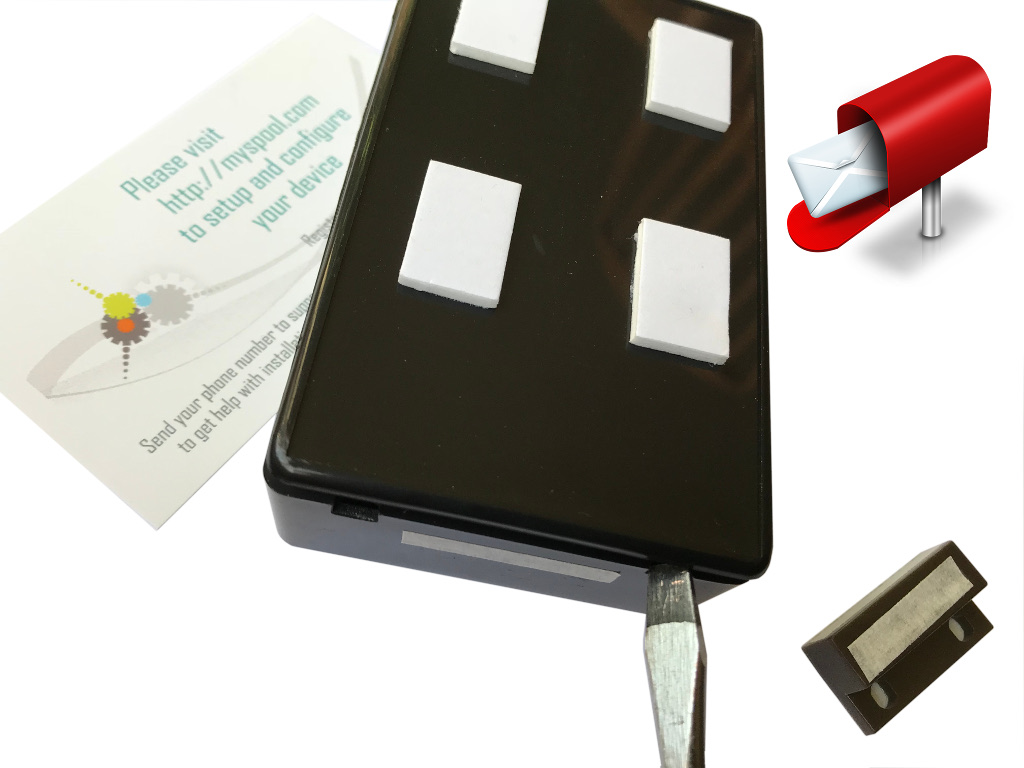
A. Plug your MySpool Hub - the black box - in an A/C outlet.
B. Connect your Hub to WiFi:
-
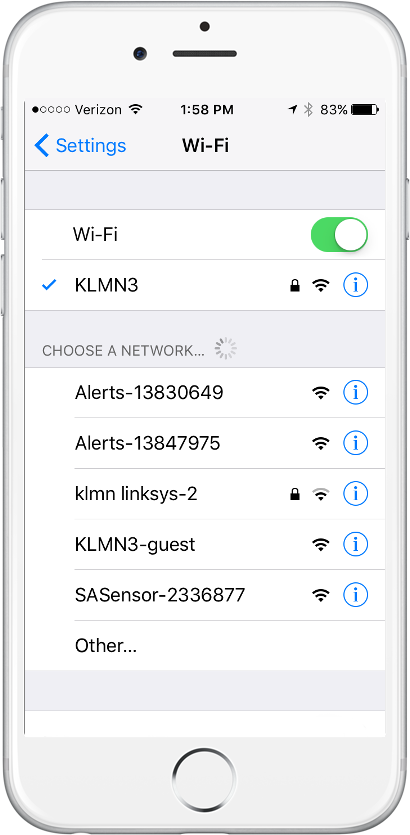 Open your phone, go to Settings, and choose Wi-Fi. Under the CHOOSE A NETWORK tab you will see available networks. One of them will be the MySpool Hub. It will look like SASensor-000000 where "000000" is the unique device ID. In the example on the right it is shown as SASensor-2336877
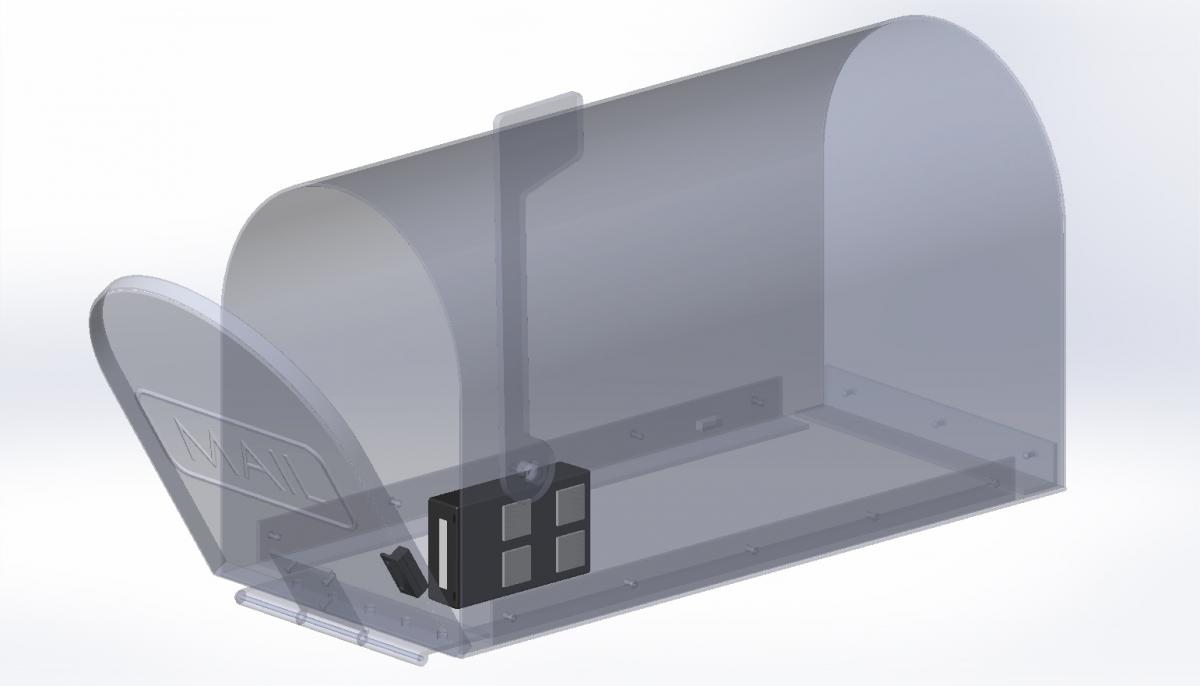
How to replace batteries in Internal MAILBOX Alert?
1. Use a flat screwdriver to pry off the entire device using the two slots next to the lid which is attached to the side of the mailbox.
2. Replace the batteries.
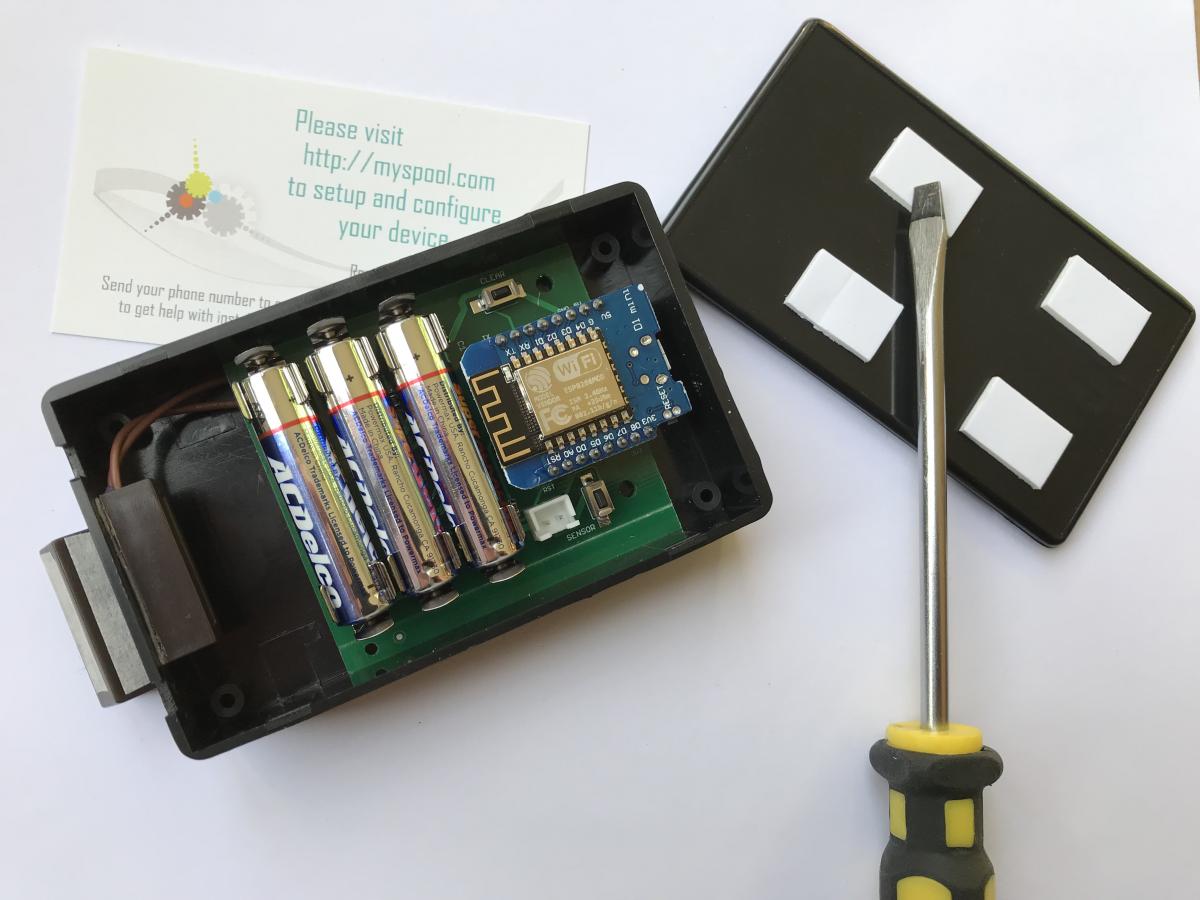
3. Pop the device back in.
How to setup your MAILBOX Alert to use your WiFi?
-
Make sure that the two sensor parts have been attached for at least 5 minutes before you start to configure your WiFi. Separate the door sensor parts for 2 seconds. The magnet part must be at least an inch away from the switch part. This will turn on the MAILBOX Alert and start a 5 minute timer during which you will need to complete the setup. To reset and start again, simply make sure that the door sensor parts are together for 5 minutes. Then start at the beginning of this step.
How to configure and install the MAILBOX Alert, Internal mount?
Please CONFIGURE your MAILBOX Alert before you install it. You will need access to internet and your WiFi router's ID and password. Once it has been configured, you can take your MAILBOX Alert outside and INSTALL it.
How to configure MAILBOX Alert
How to move MAILBOX Alert to another WiFi network?
If you need to move the MAILBOX Alert to another location or simply need to re-configure it to use another WiFi router, follow the procedure below.
How to configure and install the MAILBOX Alert, External mount?
How to CONFIGURE MAILBOX Alert
Your new MAILBOX Alert needs to connect to the internet to send its notifications. They will then be forwarded as emails and as text messages to your phone. In order to do that it needs to know which WiFi network to use for communications. Before that, your MAILBOX Alert must be configured with an email and a phone number to send notifications.