
IFTTT Integration
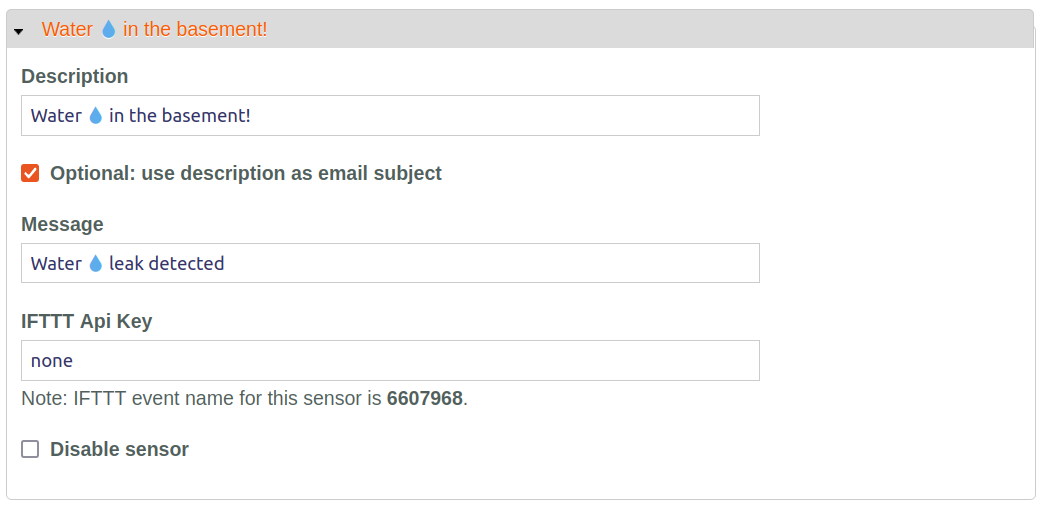
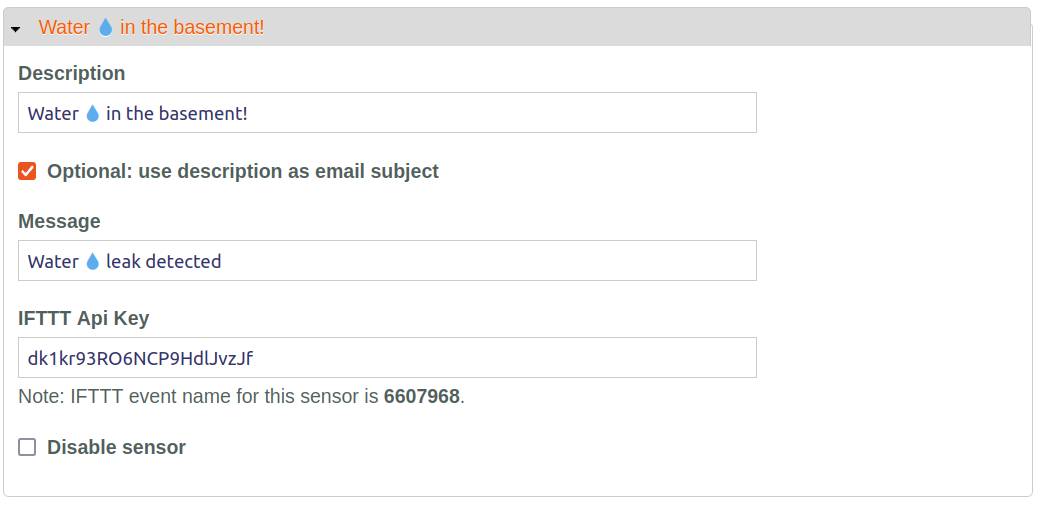
STEP 1: Login to your MySpool.com account, go to "My Devices" page, then click "Configure Device." When the page loads, scroll down to the sensor you wish to integrate with IFTTT and note the event name.
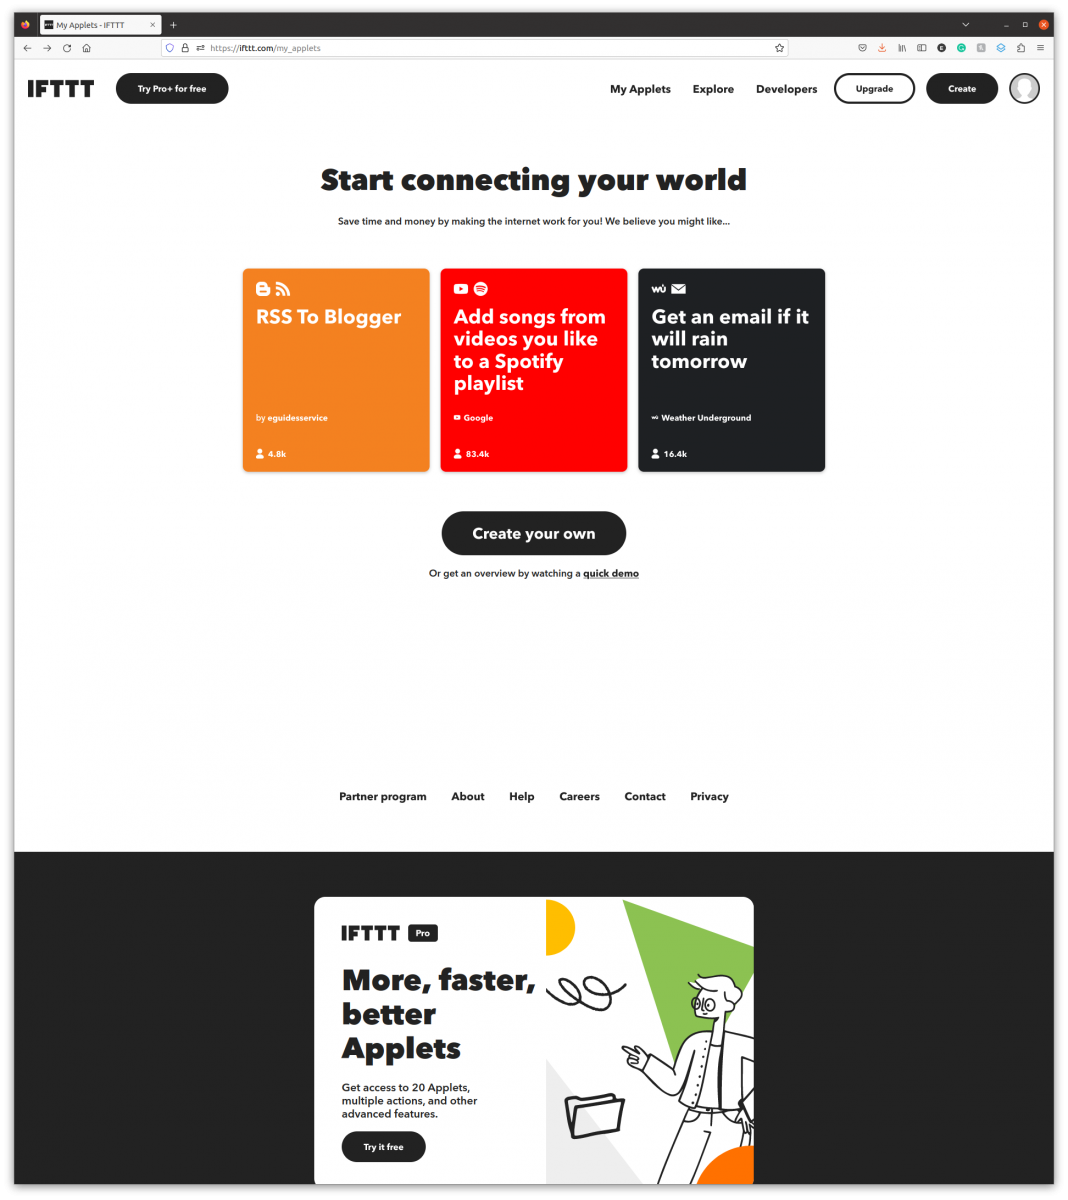
STEP 2: Register an account with IFTTT.com and login there.
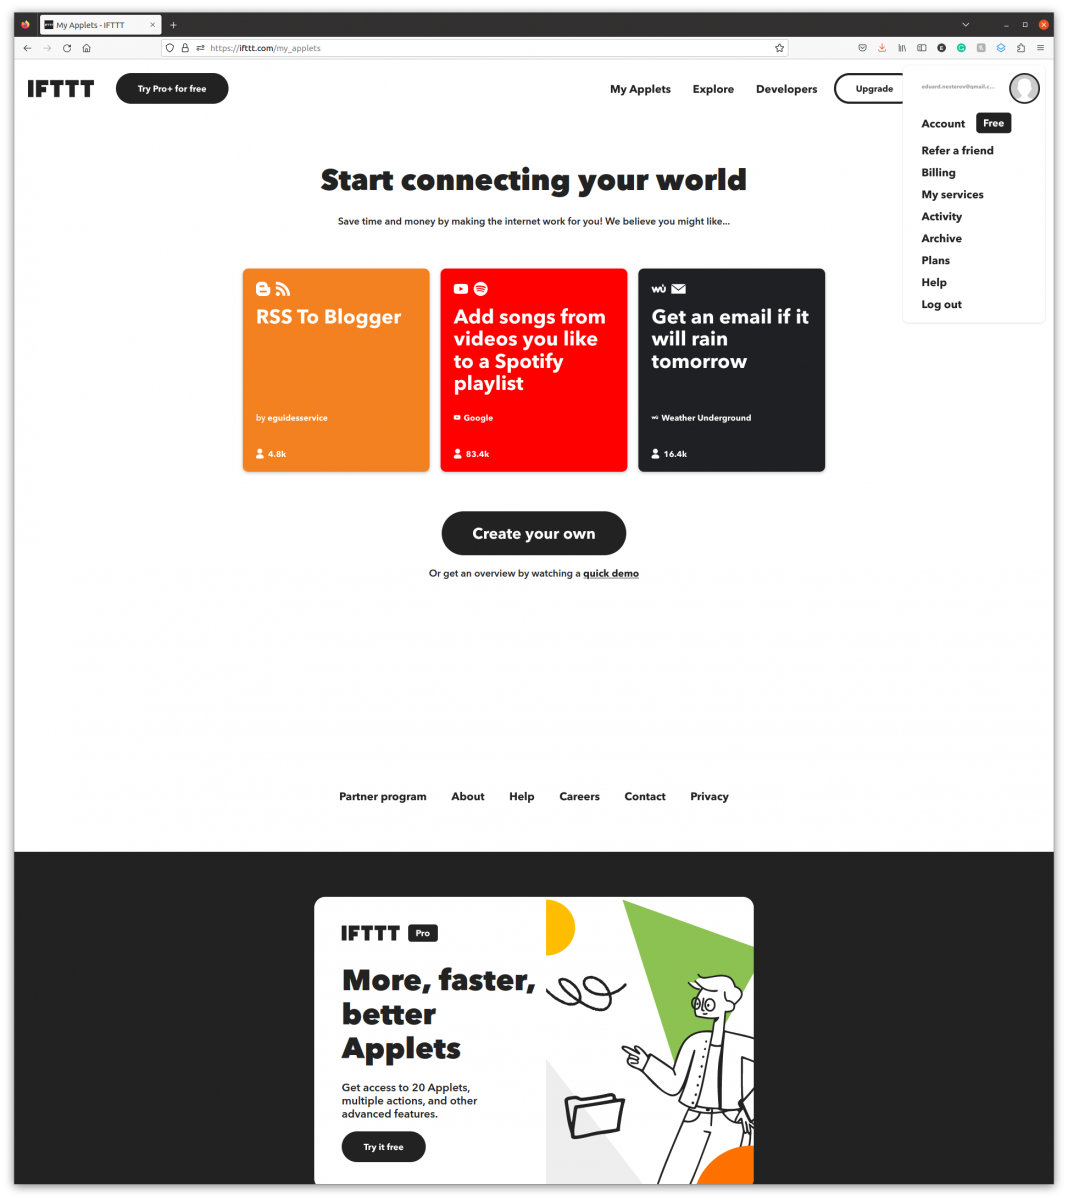
STEP 3: Click the Account icon in the top right corner of the IFTTT home page, then select "My services."
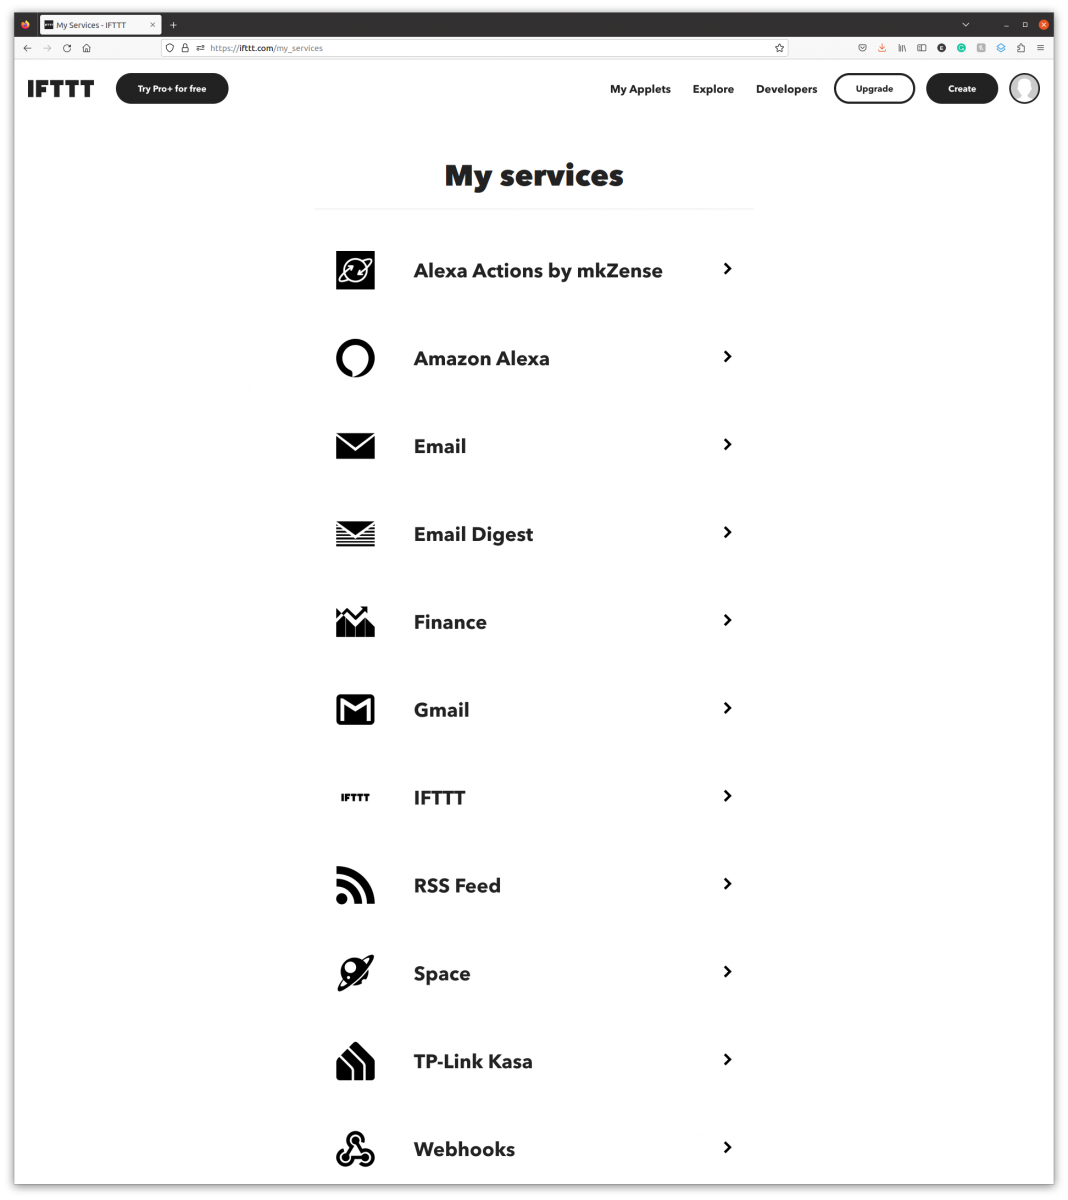
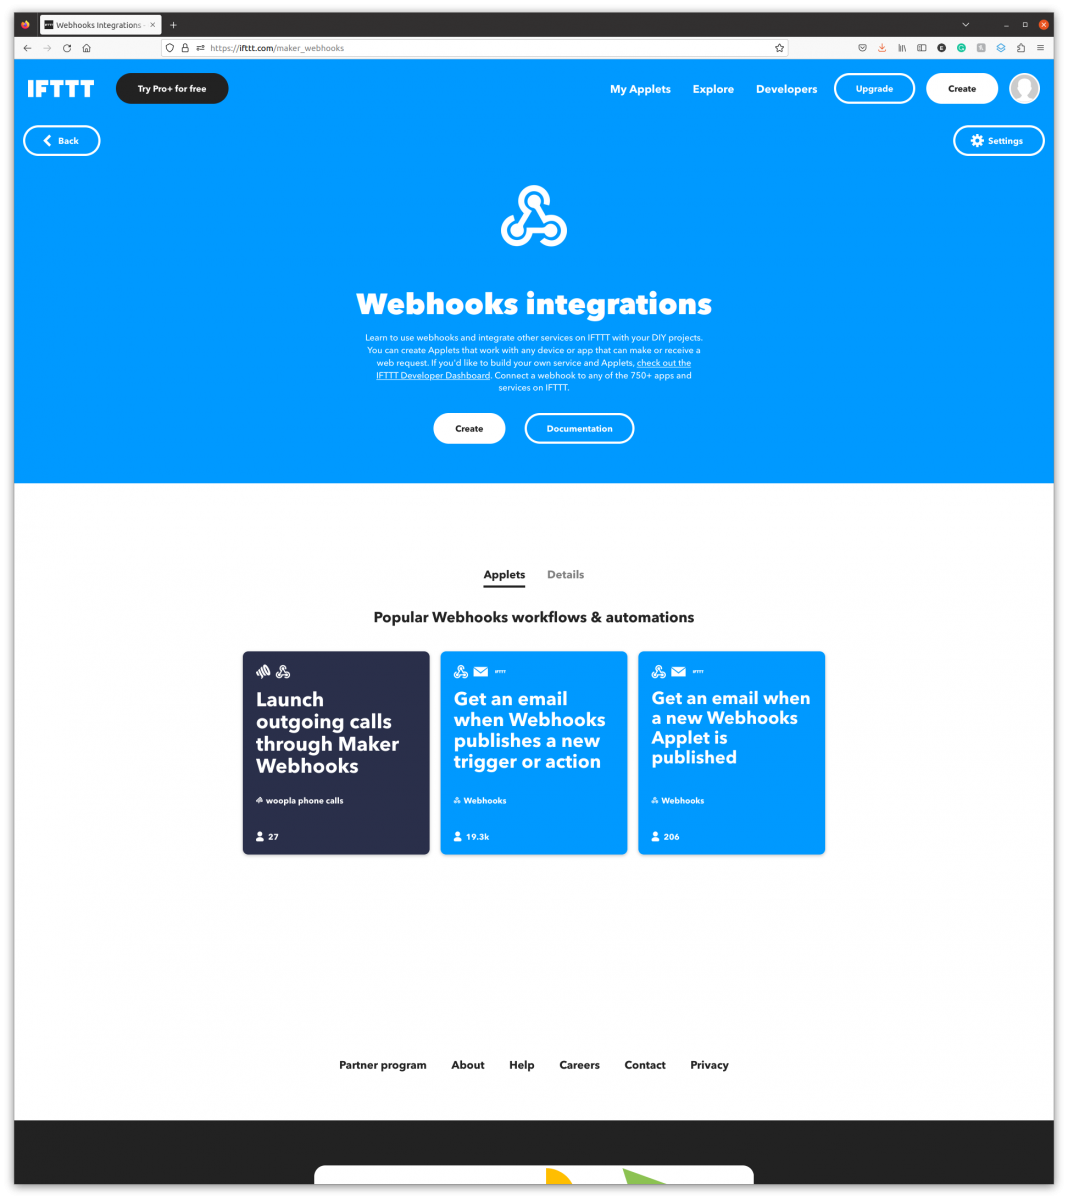
STEP 4: On the "My services" page, click "Webhooks" in the list of services.
STEP 5: On the "Webhooks integrations" page, click the "Documentation" button.
STEP 6: On the next page, copy the IFTTT Key.
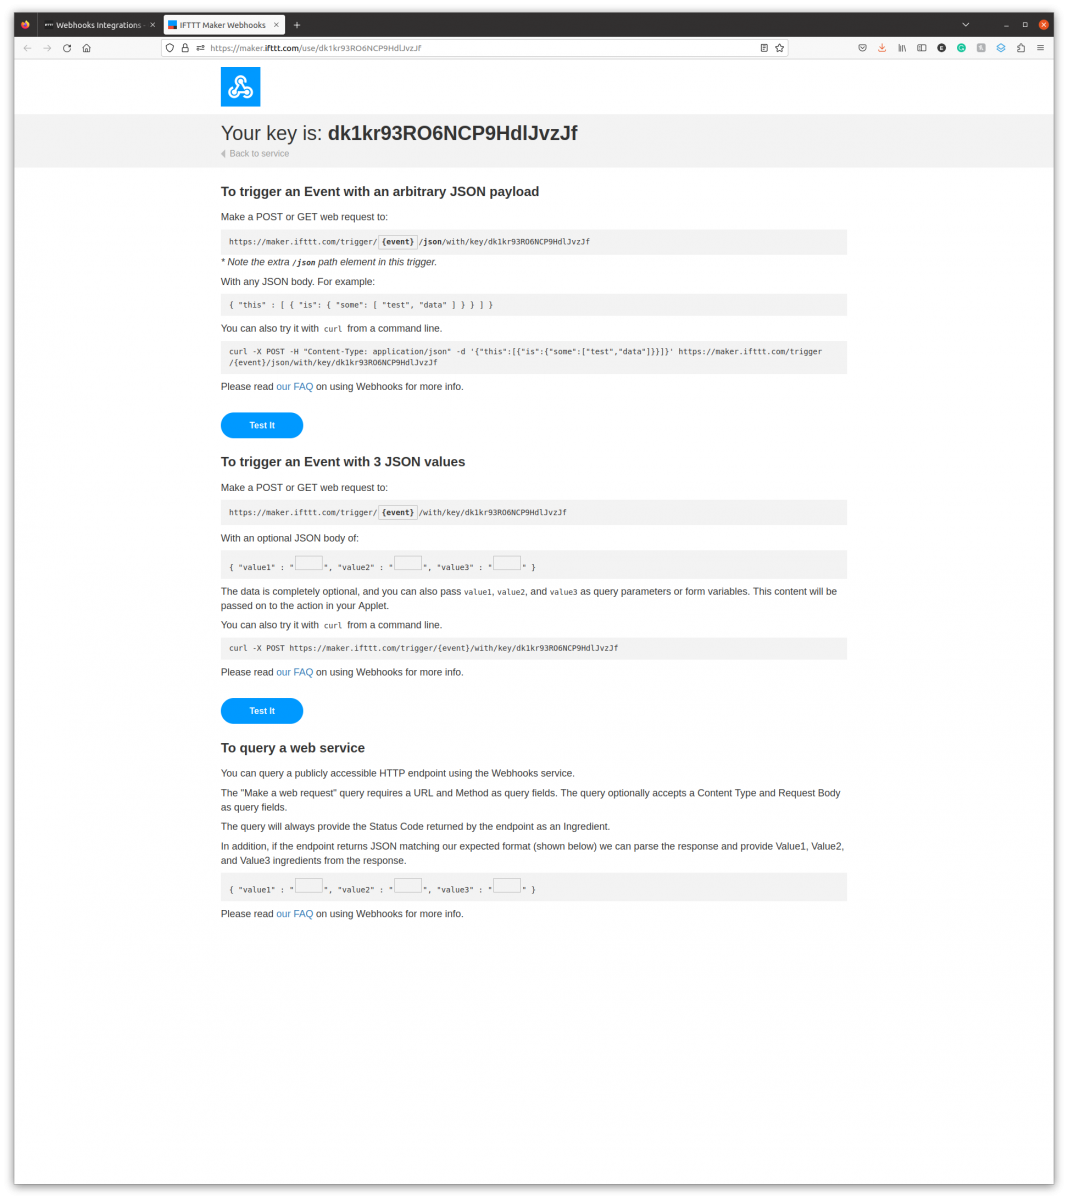
STEP 7: Go back to the device configuration page from Step 1, and paste IFTTT Key into the "IFTTT Api Key" field. Click the "Save" button to commit the change.
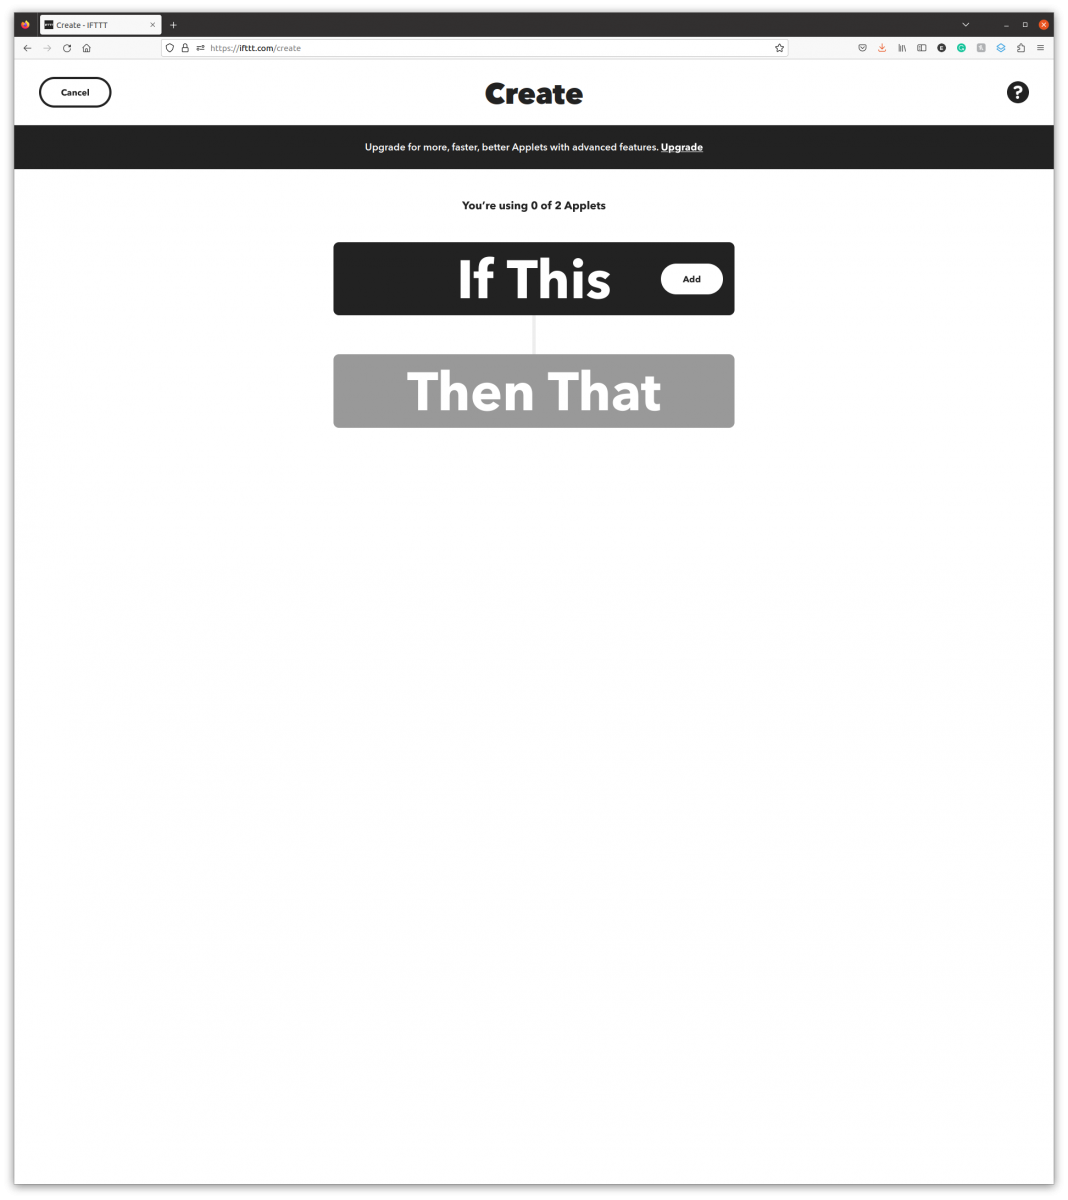
STEP 8: Go back to IFTTT.com, and click the "Create" button in the home page's top right corner.
STEP 9: On the next page, click the "If This" button.
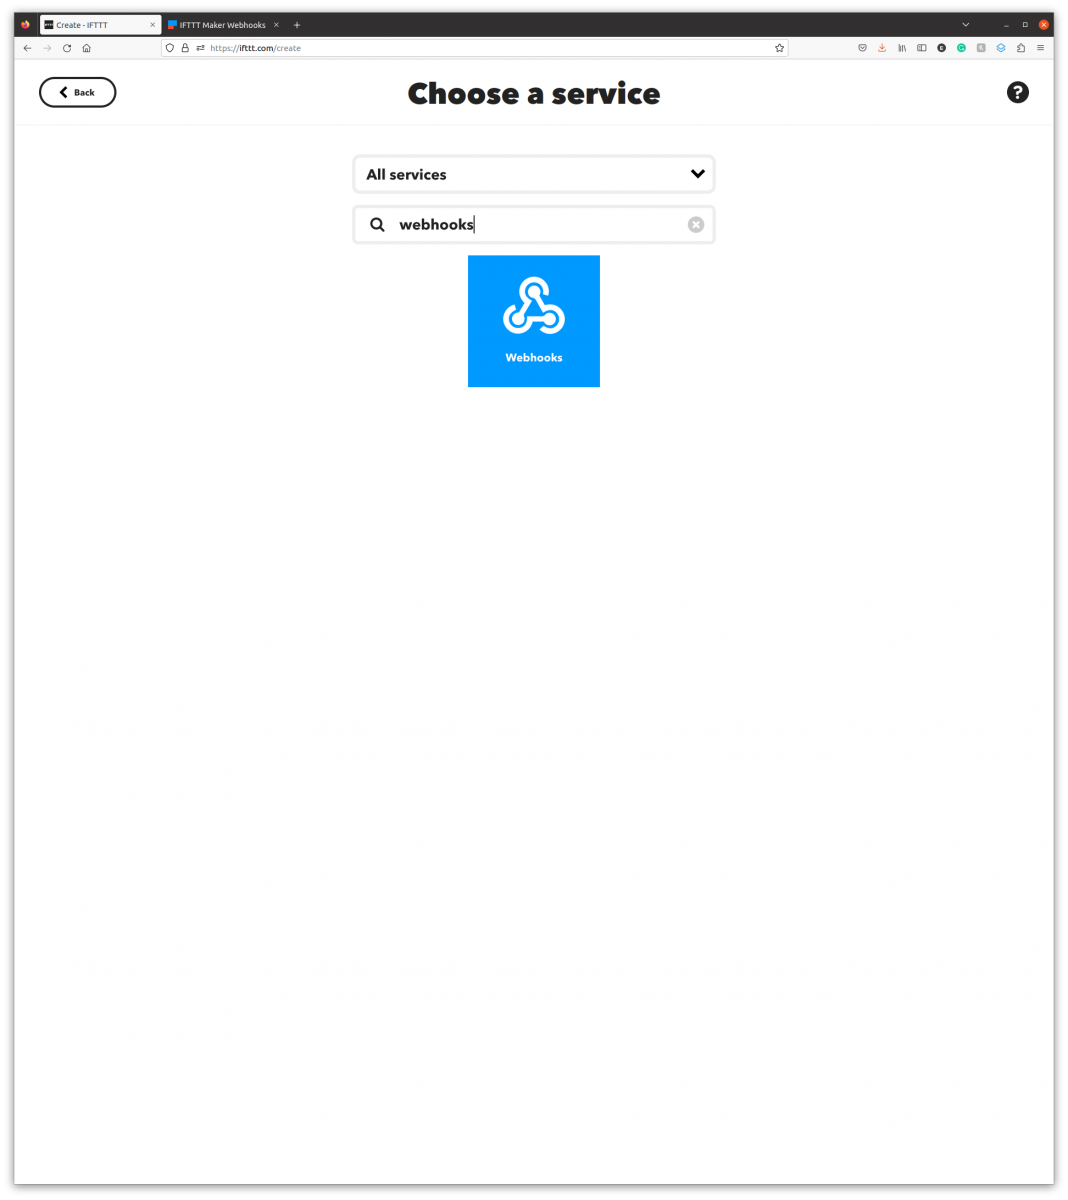
STEP 10: On the "Choose a service" page, search for webhooks, then click the "Webhooks" button.
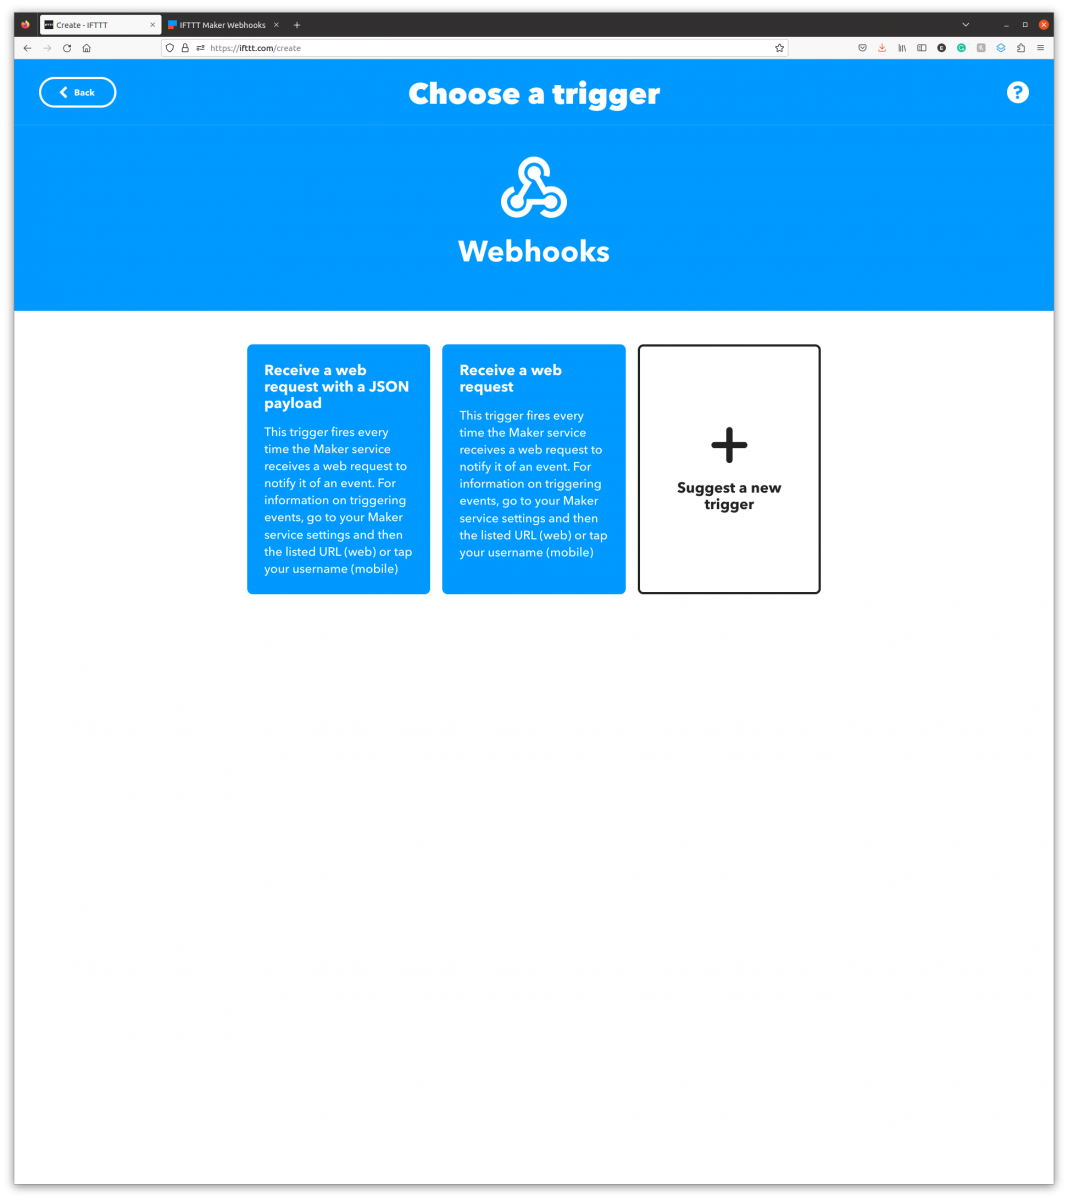
STEP 11: On the next page, click the "Receive a web request" button.
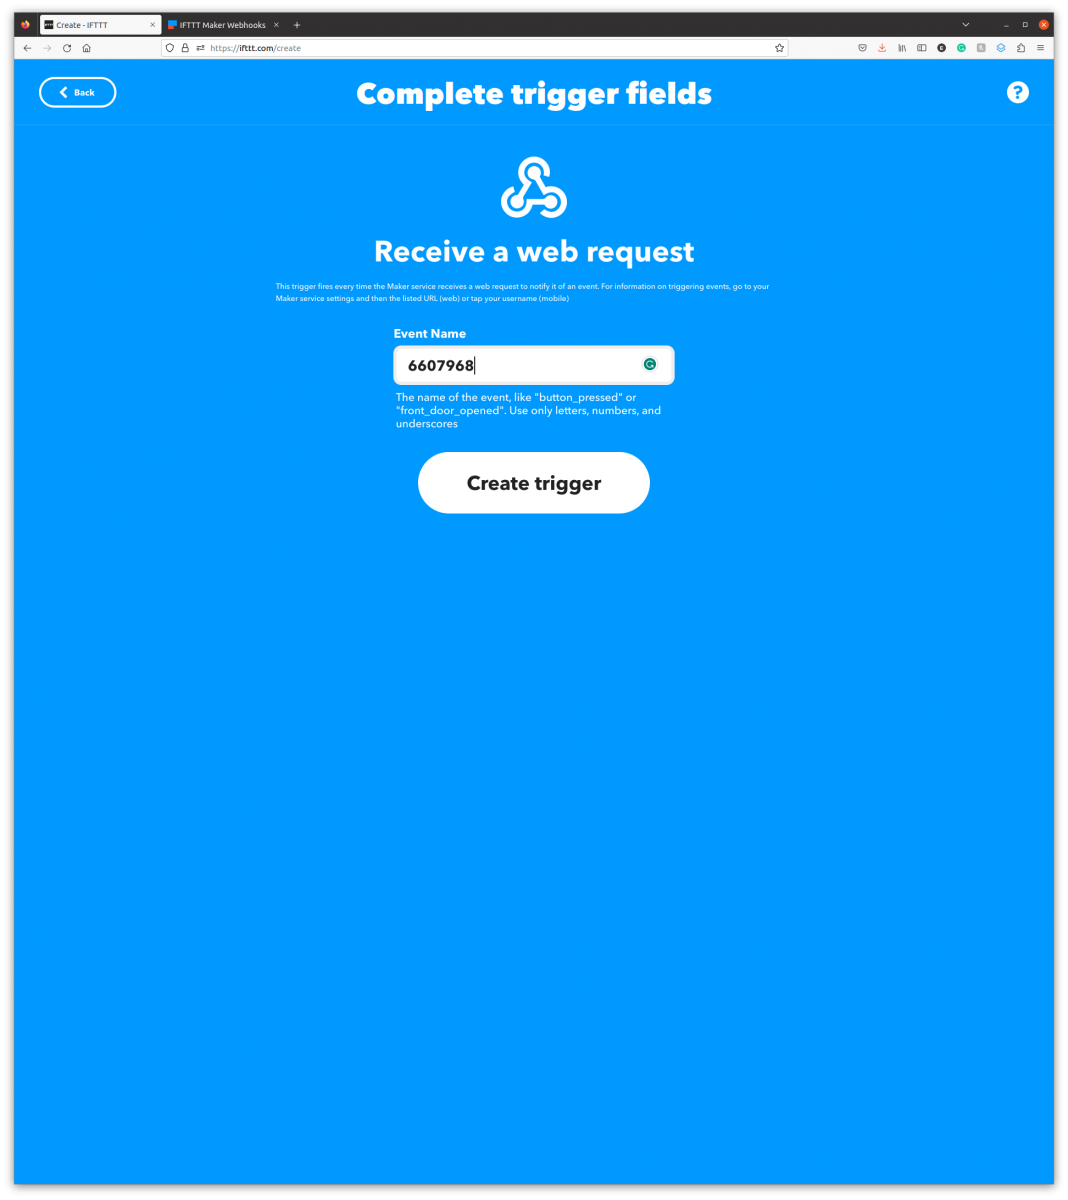
STEP 12: On the "Complete trigger fields" page, enter event named (noted in Step 1) into the "Event Name" field. Then click the "Create trigger" button.
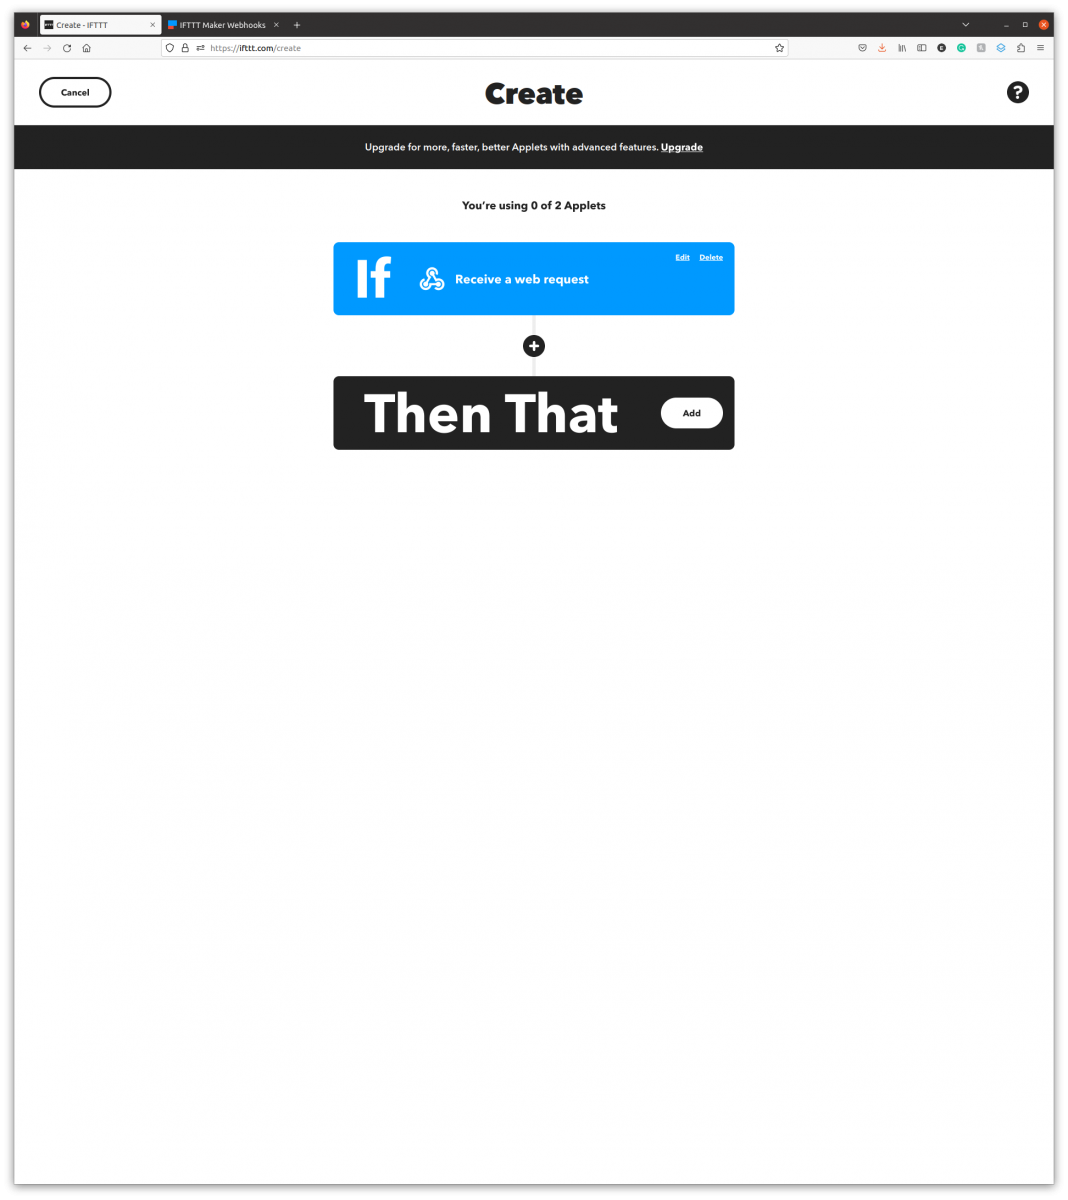
STEP 13: On the "Create" page, click the "Then That" button.
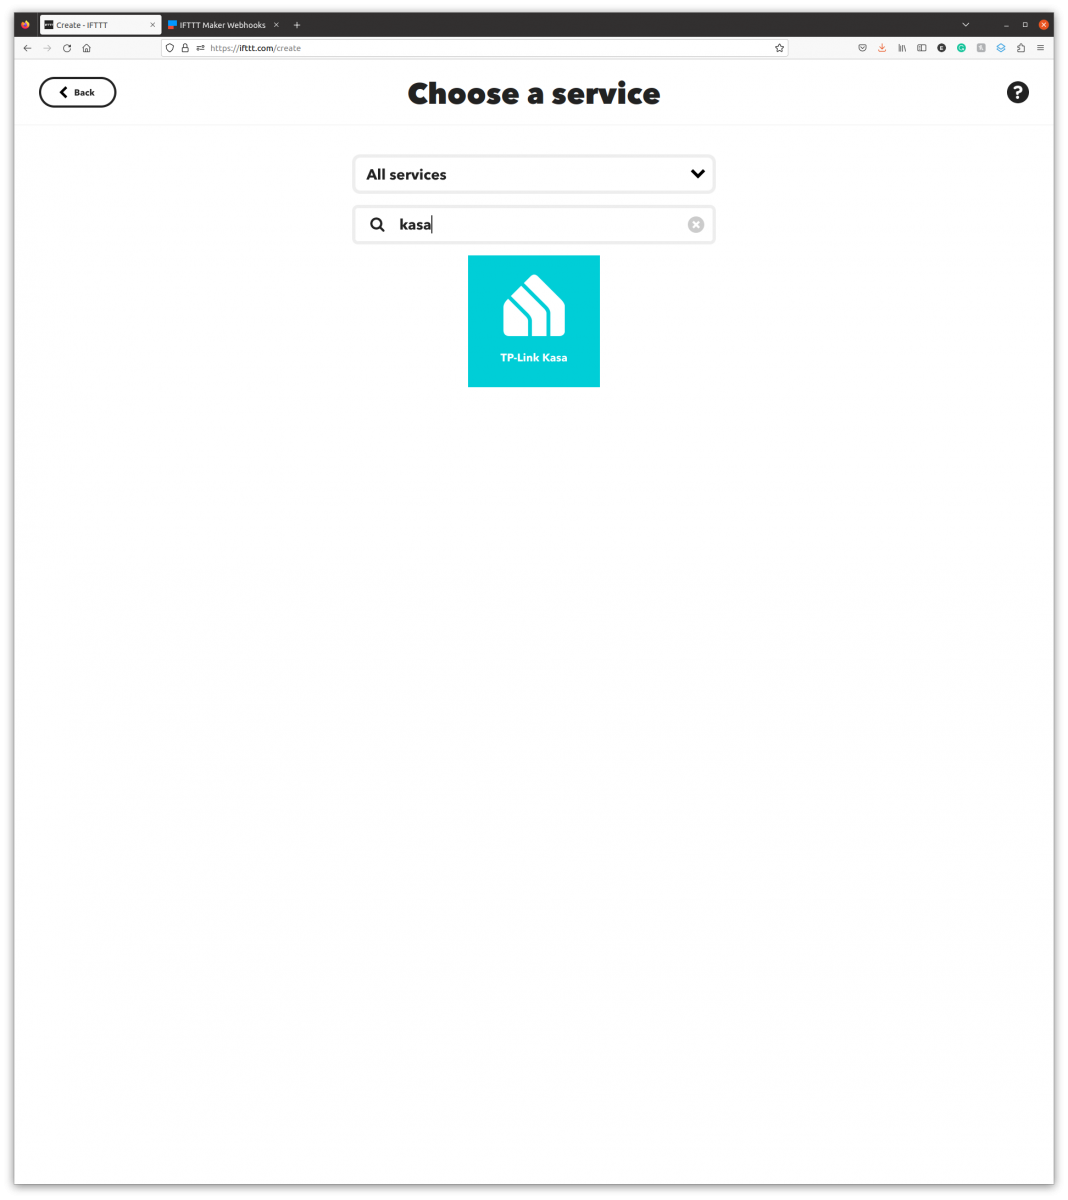
STEP 14: On the "Choose a service" page, search for your smart plug vendor/name, then click the found service button. In this example it is Kasa by TP-Link.
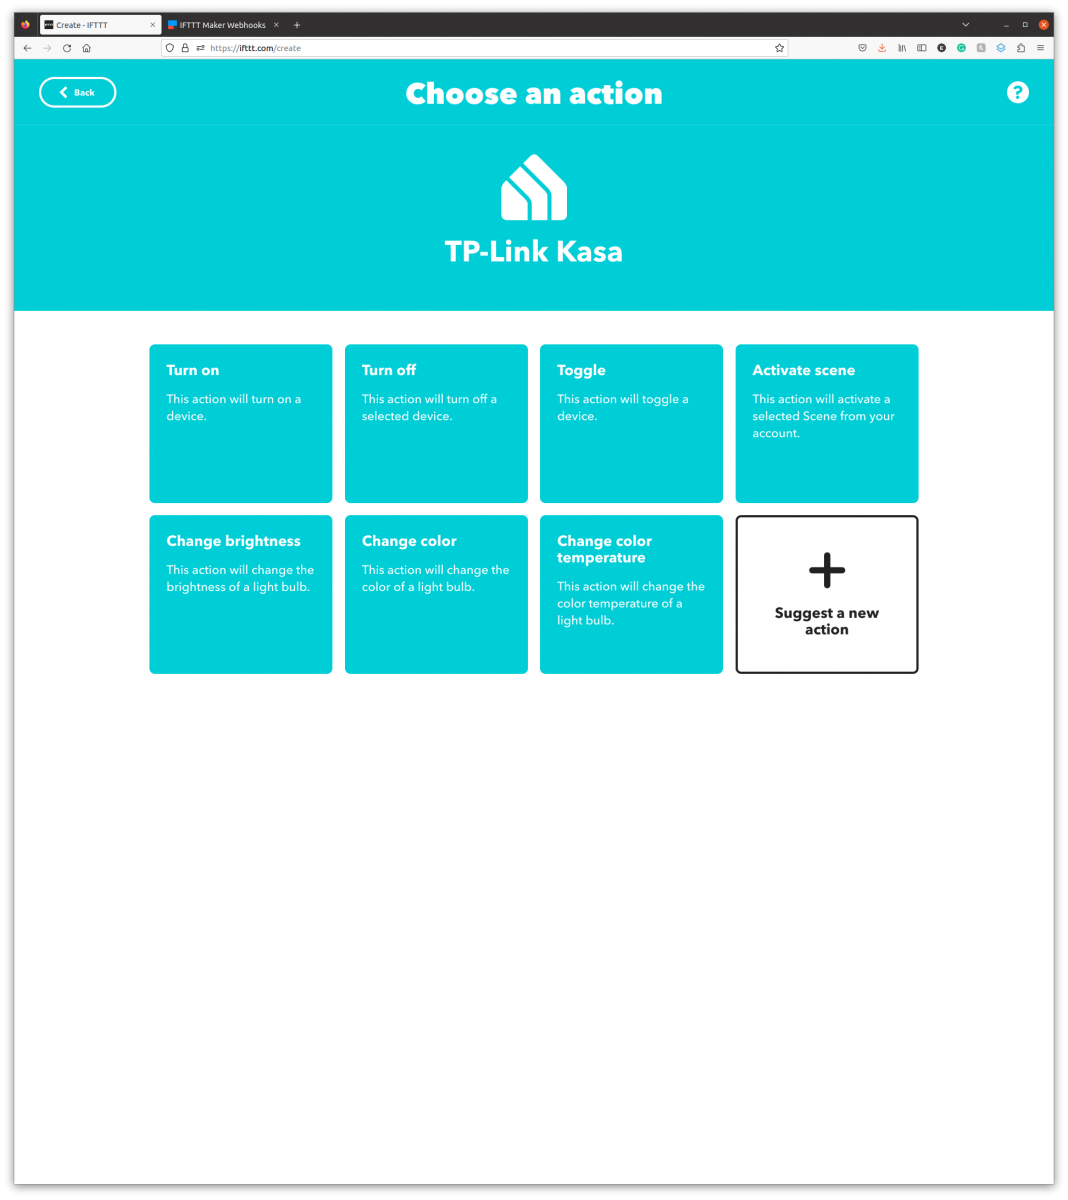
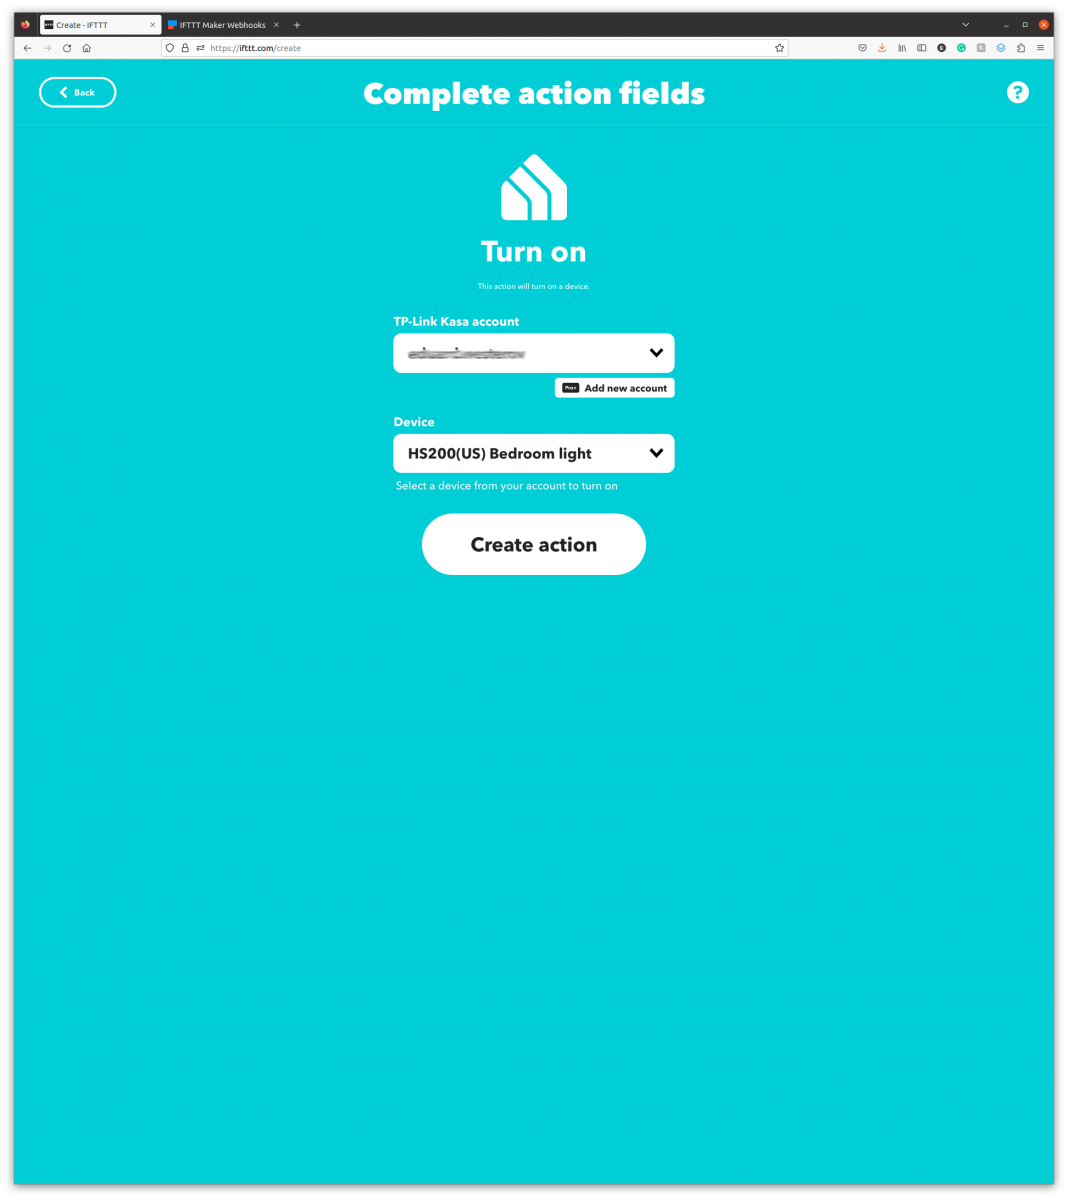
STEP 15: Follow instruction(s) on the screen to finalize the setup.
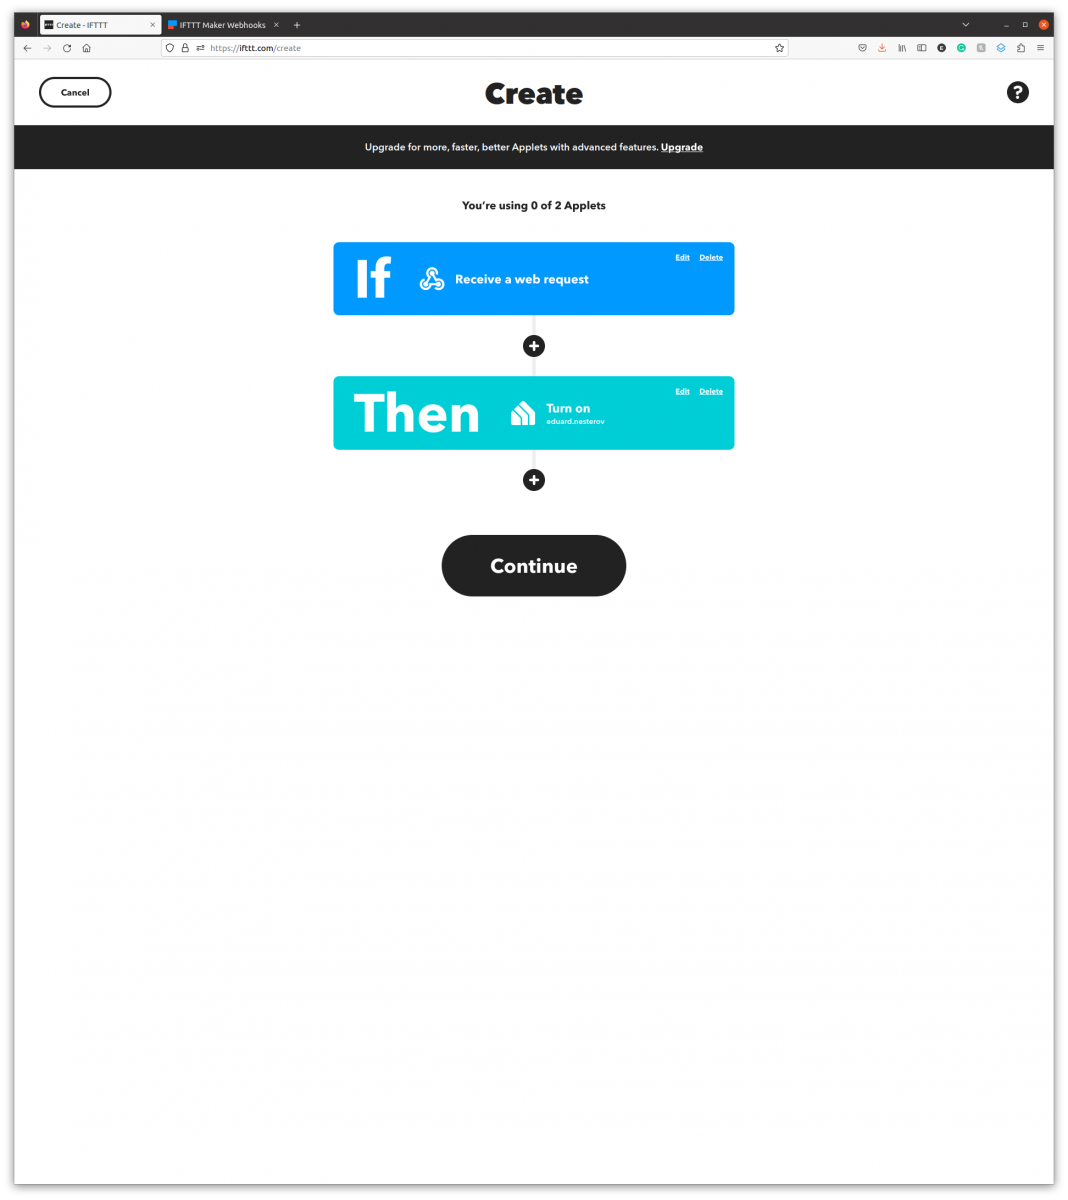
STEP 16: On the "Create" page, click the "Continue" button.
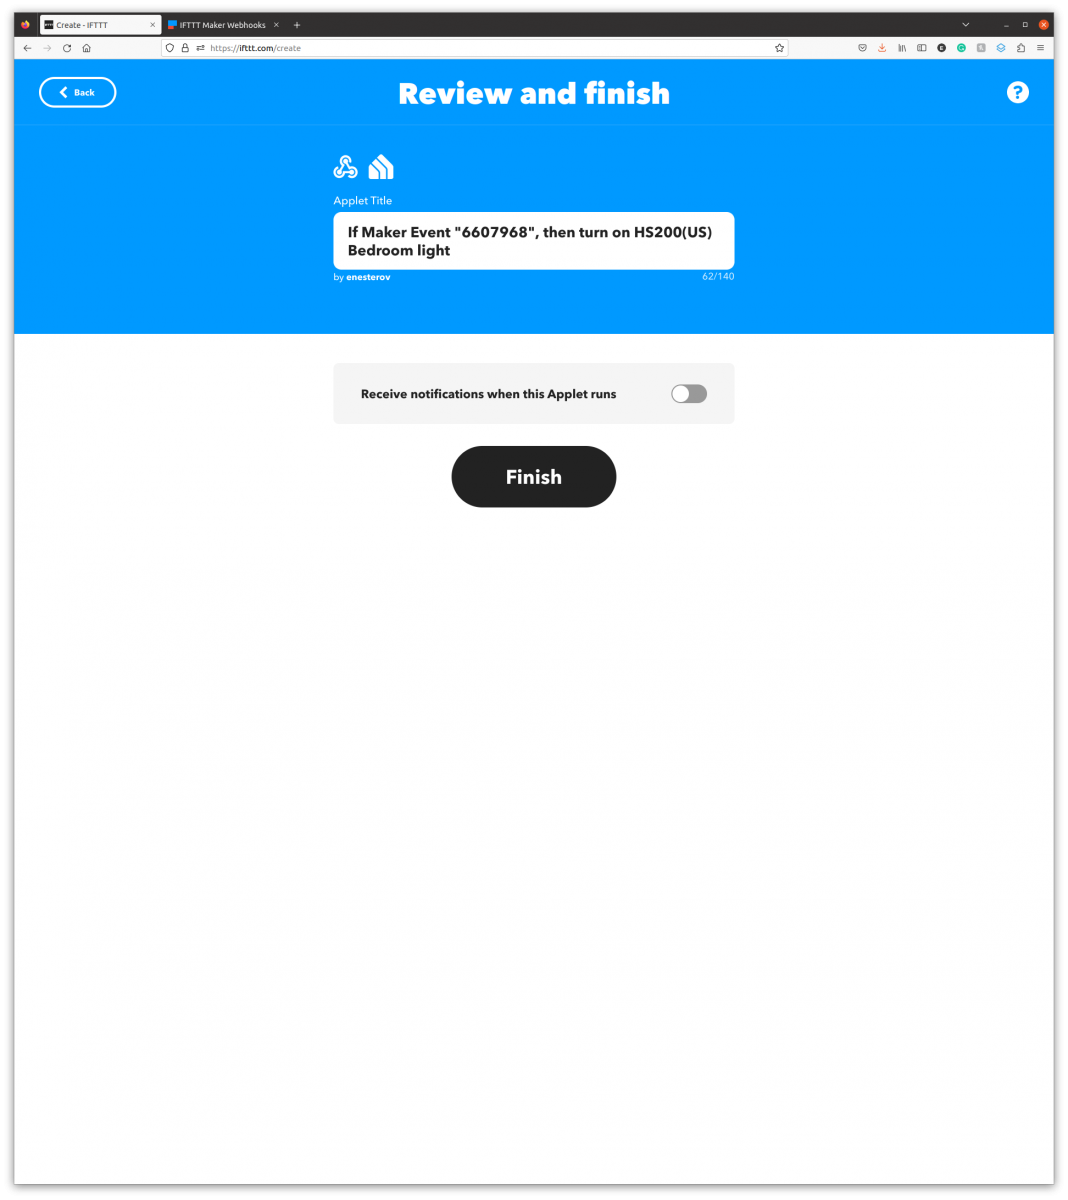
STEP 17: On the "Review and finish" page, click the "Finish" button.
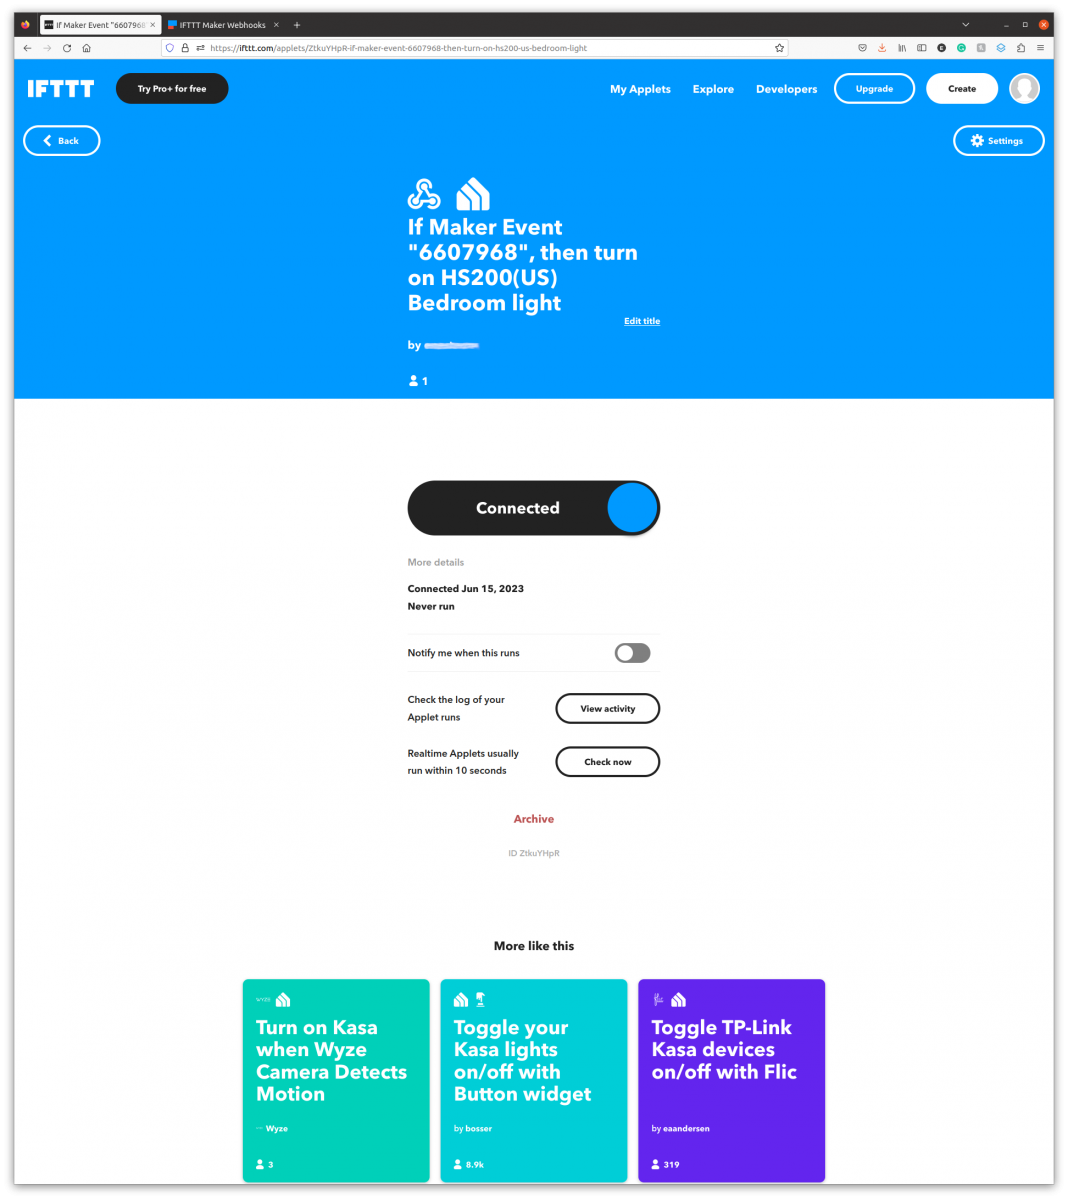
STEP 18: On the next screen you should get information about your new Applet.
STEP 19: Trigger you MySpool device to turn the smart plug ON or OFF.